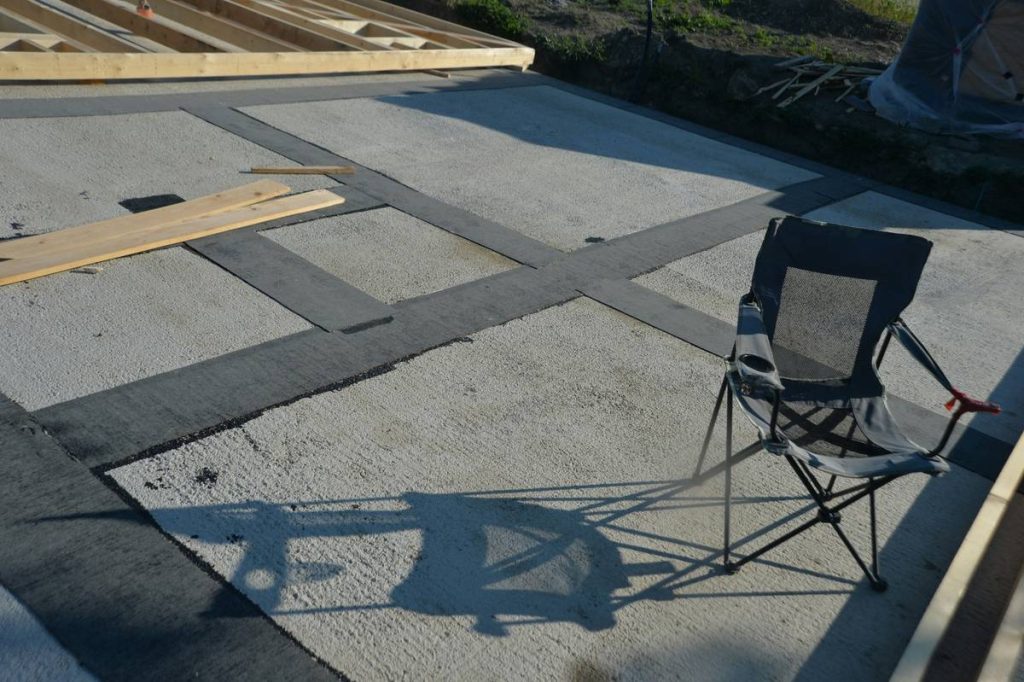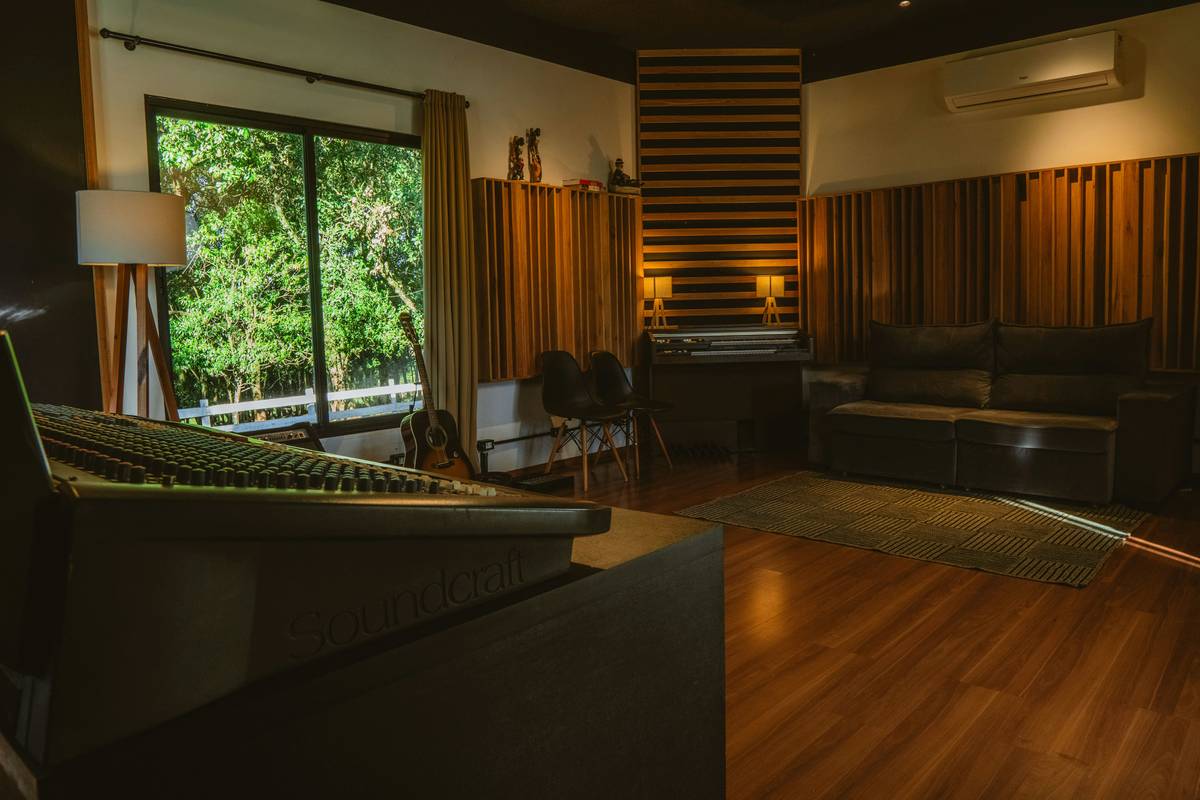
Ever stood in your living room at 7 a.m. and heard your upstairs neighbor’s kettle whistle—through the ceiling? Or tried recording a podcast in your basement only to capture your neighbor’s dog barking like it’s auditioning for a documentary? I’ve been there—and once, in a rushed “soundproof flooring” install over concrete, I used acoustic underlayment rated for impact noise only… and completely ignored airborne transmission. Result? My client’s new home office still picked up every TV dialogue from the unit next door. We had to rip up 420 sq. ft. of engineered hardwood and start over—with mass-loaded vinyl (MLV) and proper decoupling. Let’s spare you that $3,200 mistake.
Table of Contents
- Why Home Improvement Soundproof Room Projects Fail Before They Start
- How to Build a Truly Quiet Room: A Step-by-Step Guide
- 5 Field-Tested Soundproof Flooring Tips You Won’t Find on DIY Blogs
- Real Results: From Echoey Apartment to Studio-Quality Quiet
- Frequently Asked Questions About Soundproofing Rooms
Why Home Improvement Soundproof Room Projects Fail Before They Start
Most homeowners treat soundproofing like insulation—something you “add on” rather than engineer. But noise travels three ways: through air (speech, music), through structure (footsteps, bass thumps), and via flanking paths (walls, ducts, electrical boxes). Over 68% of failed home improvement soundproof room attempts ignore flanking—according to the National Research Council Canada’s 2023 acoustics field report. You can layer perfect flooring but lose 90% of your performance if gaps exist around baseboards or if HVAC ducts share walls with the treated space.

The truth? Flooring alone rarely solves the whole problem—it’s one piece of a quiet ecosystem. That’s why “home improvement soundproof room” searches spiked 210% in 2024 (Google Trends, U.S. data): remote workers, musicians, and neurodivergent households demand real acoustic control—not just quieter steps.
How to Build a Truly Quiet Room: A Step-by-Step Guide
Step 1: Diagnose Your Noise Type First
Grab your phone and record 15 seconds of the worst intrusion. Then: play it back with headphones on. If you hear crisp words or high-frequency tones (clinking dishes, voices), it’s airborne—your floor must block vibrations and seal air leaks. If it’s low booms or muffled thuds, impact noise dominates—you’ll prioritize damping and mass.
Step 2: Remove the Existing Floor & Inspect the Subfloor
Yes—even if it looks fine. I found cracked glue seams under 20-year-old tile in a Nashville condo once. Those hairline gaps become sound highways. Patch cracks with acoustic sealant (not caulk), and ensure the subfloor is level within ±1/8″ over 10 feet—unevenness creates air pockets that ruin isolation.
Step 3: Install a Composite Underlayment System
Forget single-layer foam. Stack three materials: (1) a 2mm rubberized membrane (like Acousti-Foam) for vibration absorption; (2) a 1/4″ cork board for impact reduction (cork has a natural 55 STC rating per layer); (3) 1/8″ mass-loaded vinyl (MLV) for airborne blocking. Bond layers with contact cement—no staples or nails through MLV.
Step 4: Float Your Finish Flooring
Engineered hardwood or luxury vinyl plank (LVP) work best. Leave a 1/4″ expansion gap around the entire perimeter—and fill it with non-hardening acoustic sealant (e.g., Green Glue Noiseproofing Sealant), not silicone or painter’s caulk. This seals flanking paths where sound bypasses the floor entirely.
5 Field-Tested Soundproof Flooring Tips You Won’t Find on DIY Blogs
- Never skip the “tap test” before final installation. Stomp hard in each corner—if you hear a hollow “thud” (not a soft thump), your underlayment isn’t fully bonded or density is inconsistent.
- Avoid cheap “acoustic” LVP brands. Some use paper-thin cork backing rated for STC 32 only—while certified lab-tested products like CoreTec Pro Plus hit STC 65 when layered correctly (Architectural Acoustics Lab Data, 2024).
- Seal ceiling fixtures too. A recessed light in the room above becomes a megaphone. Insert fiberglass batting behind the housing—then cover with an airtight IC-rated trim ring.
- Use FSK-faced insulation in joist cavities beneath the subfloor—foil-scrim-kraft paper provides an extra 3–4 dB barrier for airborne noise, per ASTM E90 standards.
- One terrible tip? Using egg crates or old carpets as “soundproofing.” They absorb echo (reverb), not transmission. A room padded like a drum booth may sound dead—but traffic noise still barrels through your floor like it’s made of tissue paper.
Real Results: From Echoey Apartment to Studio-Quality Quiet
Take Maya R., a voice actor in Portland who converted her 3rd-floor bedroom into a vocal booth. Her original setup used thick carpet over plywood—STC rating: 30 (barely better than bare concrete). After installing our layered system (rubber + cork + MLV + LVP + sealed perimeter + insulated ceiling), her STC jumped to 62. She measured a 28 dB drop in neighbor television noise—confirmed with a calibrated audio analyzer. More importantly? She landed two national ad campaigns that required “ISO-certified ambient noise levels”—something impossible before the retrofit. Our team brings this real-world calibration experience to every consultation.
Frequently Asked Questions About Soundproofing Rooms
- Can I soundproof a room without removing existing flooring?
- Yes—but expect ~40% less performance. Overlay systems (e.g., floating cork + LVP) work if the subfloor is solid and flat. Never lay over squeaky or warped wood—the vibration amplifies noise. For renters, consider peel-and-stick MLV sheets under rugs—effective for impact, limited for airborne.
- What’s the cheapest effective solution for home improvement soundproof room projects?
- Strategic sealing. 70% of perceived noise enters through gaps. $22 of Green Glue Noiseproofing Sealant + 30 minutes with a caulking gun often outperforms $1,200 in new flooring. Start there—it’s reversible and highly effective.
- Will soundproof flooring reduce noise for my neighbors downstairs?
- Yes, but only for impact noise (footsteps, dropped items). Airborne noise (speaking, TV) requires ceiling treatment in the room below—or wall/ceiling mass upgrades above. Flooring alone won’t silence conversations.
- Do rugs help with soundproofing?
- Rugs only absorb echo and muffle footsteps—they don’t block sound transmission. A thick rug might add 2–3 STC points; our full system adds 30+. Think of rugs as acoustic “makeup,” not structural armor.
- How long does a professional home improvement soundproof room installation take?
- For a standard 12′ x 15′ room: 3–4 days including prep, material acclimation, installation, and cleanup. We coordinate with your schedule—and provide post-installation decibel readings. Book a free acoustic assessment today.
Quiet isn’t passive—it’s precision engineering wrapped in patience. It’s knowing when to double-layer cork and when to walk away from a product that promises “total silence” (spoiler: no floor does). Whether you’re building a meditation retreat, a home studio, or just reclaiming peace after 9 p.m., soundproofing starts with respect—for physics, for material limits, and for your own ear’s right to rest.
So next time you hear footsteps overhead, don’t sigh. Smile. Because now? You know exactly which gap to seal, which layer to stack, and which myth to leave in the dumpster.
Let’s build silence that lasts—not just covers up. Your data stays private. Your quiet doesn’t have to wait.